To measure your ring size at home, wrap a thin strip of paper or string around the base of your finger, ensuring it fits snugly but comfortably. Mark where the ends meet, then measure the length in mm using a ruler. Compare this measurement with a standard ring size chart to find your correct size. For the most accurate results, measure your finger at the end of the day when it’s slightly larger and avoid measuring when your hands are cold.
Getting that fit right is the difference between a ring you wear every day and one that sits sadly in a jewelry box because it’s too tight or, worse, sliding off your finger.
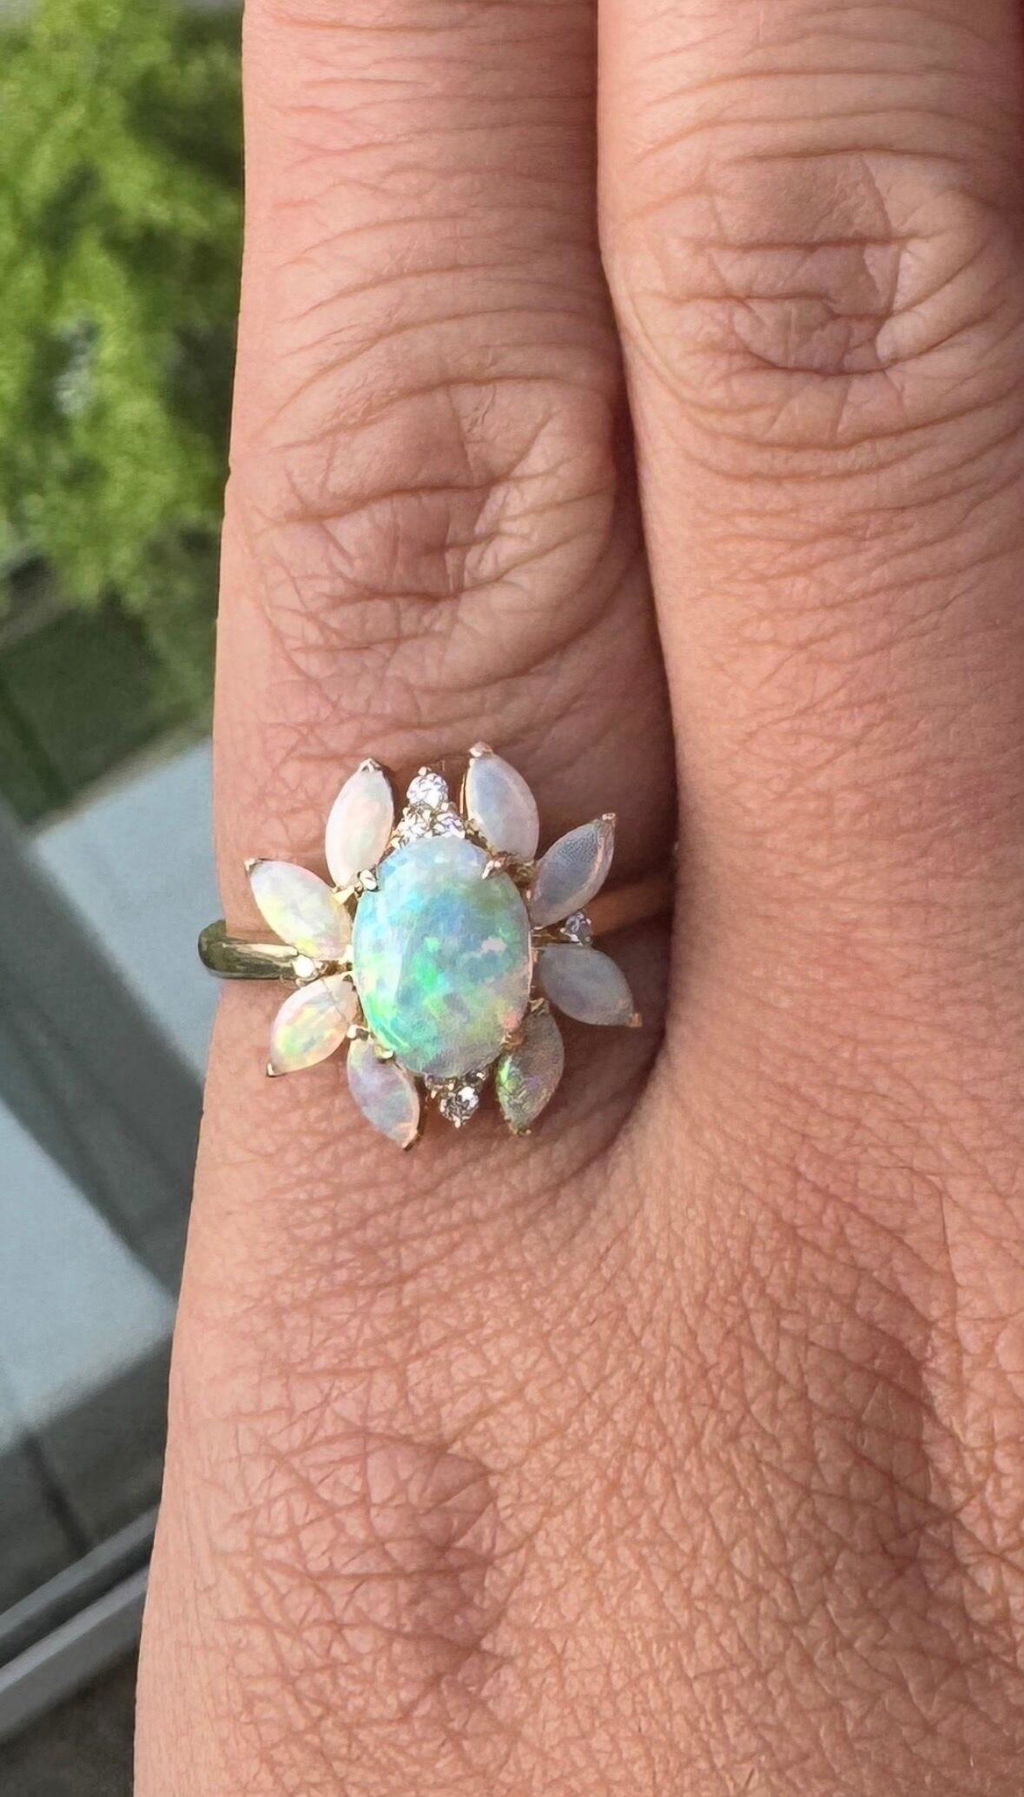
At The Wind Opal, since many of our opal rings are one-of-a-kind, we want to make sure that when your package arrives, it feels like it was custom-molded to your hand. But don’t worry, you don't need a professional jeweler’s studio to get an accurate reading. We’ve put together this complete ring size guide to help you measure ring size from the comfort of your couch with things you already have at home.
Why Getting Your Ring Size Right Matters
A ring that fits properly should slide over your knuckle with a little bit of friction but sit comfortably at the base of your finger without spinning or pinching. If a ring is too loose, you risk losing your precious stone during a busy day. If it's too tight, it can be uncomfortable during the summer months when our hands naturally hold a bit more water.
When you invest in something as special as a genuine opal ring, the goal is a "Goldilocks" fit - just right.
The Best Time to Measure Your Ring Size

Did you know your fingers actually change size throughout the day? It’s true! Factors like temperature, diet, and even the time of day can make a difference. To get the most accurate result, we recommend following these three rules:
-
Measure at the End of the Day: Our fingers are usually at their largest in the evening. If you measure first thing in the morning when it's chilly, your ring might feel too tight by dinner time.
-
Check Your Temperature: Hands shrink in the cold and swell in the heat. Aim for a "room temperature" moment for the most consistent reading.
-
Measure Multiple Times: We suggest measuring three or four times over a couple of days. If you get the same number every time, you can be confident in your choice.
Method 1: The Paper or String Technique
This is the most common way to measure ring size at home because it only requires a few basic supplies: a piece of string (or a thin strip of paper), a pen, and a ruler with millimeter markings.
Step-by-Step Instructions:
-
Wrap it Close: Take your string or paper strip and wrap it around the base of the finger you intend to wear the ring on.
-
Mark the Spot: Use your pen to mark exactly where the string overlaps to form a complete circle.
-
Measure the Length: Lay the string flat against your ruler. Measure the distance from the end to your pen mark in millimeters (mm). This number is your finger’s circumference.
-
Check the Knuckle: Repeat the process at your knuckle. Since the ring has to slide over that joint, your size should be a comfortable middle ground between the base of your finger and the knuckle.
Method 2: The "Existing Ring" Shortcut
If you already own a ring that fits that specific finger perfectly, you are halfway there! This is often the most accurate method because it accounts for how a metal band actually feels on your skin.
How to do it:
-
Pick the Right Ring: Ensure the ring you are using is worn on the same finger (and the same hand) as the one you are buying for. Our dominant hands are often slightly larger!
-
Measure the Inside: Place your ring on a flat surface and use a ruler to measure the internal diameter in millimeters. Be careful not to include the thickness of the metal, we only want the empty space inside where your finger goes.
-
Compare to a Chart: Once you have that diameter (for example, 17.3 mm), you can easily match it to a standard ring size chart.
International Ring Size Conversion Chart
To make things easy, here is a quick reference for the most common US sizes based on internal diameter:
|
US Ring Size |
Inside Diameter (mm) |
Inside Circumference (mm) |
|
5 |
15.7 mm |
49.3 mm |
|
6 |
16.5 mm |
51.9 mm |
|
7 |
17.3 mm |
54.4 mm |
|
8 |
18.1 mm |
56.9 mm |
|
9 |
19.0 mm |
59.5 mm |
|
10 |
19.8 mm |
62.1 mm |
Common Sizing Challenges (and How to Beat Them)
Large Knuckles
If your knuckle is significantly larger than the base of your finger, measuring only the base will result in a ring you can't actually put on. In this case, we suggest ordering a size that is about a half-size larger than your base measurement so it can clear the knuckle comfortably.
Wide Bands Vs. Thin Bands
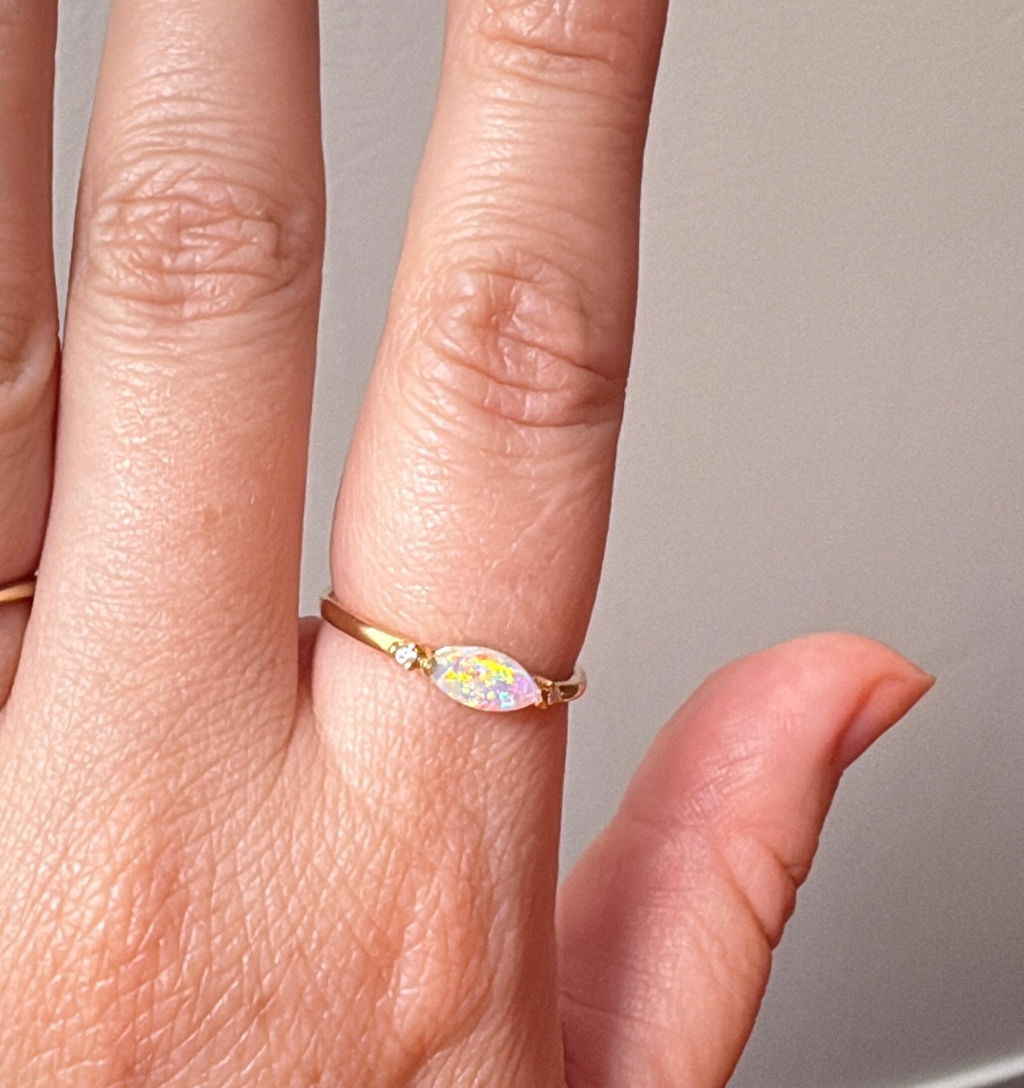
The width of the ring's band changes how it feels. A very thin, delicate band has more "room" to move. However, if you are looking at a wider "statement" band, it will feel tighter because it covers more of your finger's surface area.
Pro tip: If the band is wider than 5 mm, we usually recommend going up a half-size.
How Your Ring Should Actually Feel
A common question we get is, "How do I know if this is the right size?" Here’s our simple "Shake Test":
-
The Slide: You should feel a slight resistance when pushing the ring over your knuckle.
-
The Sit: Once it's on, it shouldn't leave a deep "indent" in your skin or cause any bulging.
-
The Shake: Gently shake your hand toward the floor. The ring should stay firmly in place. If it slides toward the knuckle with just a light shake, it is likely too large.
Expert Tips for a Professional-Level Fit
While the DIY methods are great, if you want total peace of mind, you can purchase a plastic ring sizer online for a few dollars. These look like small zip-ties with sizes marked on them and are incredibly accurate.
Also, keep in mind that once you have your perfect fit, you’ll want to keep that ring looking its best! For example, if you've gone with a beautiful natural stone, you might want to learn how to polish an opal ring to ensure it stays as vibrant as the day you first put it on.
Final Thoughts: Ready for Your Dream Ring
Measuring your ring size at home doesn't have to be a stressful experience. By taking a few measurements over a day or two and using a reliable ring size guide, you can shop with the confidence that your new treasure will fit perfectly from the moment you slide it on.
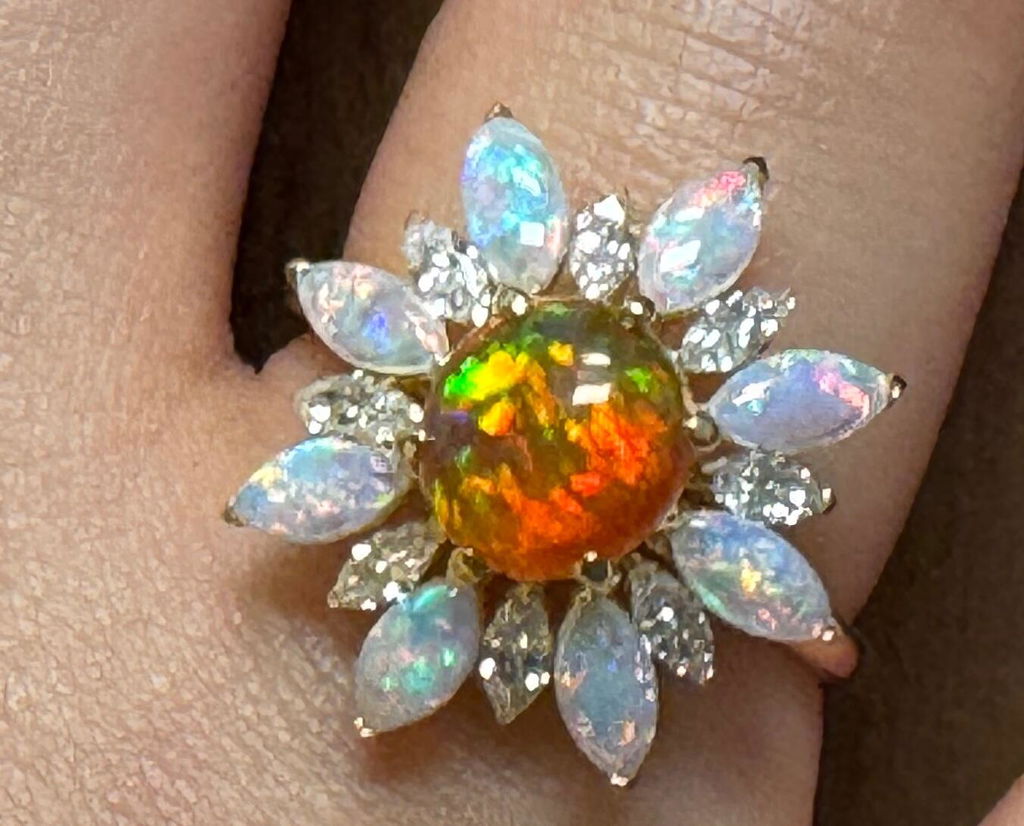
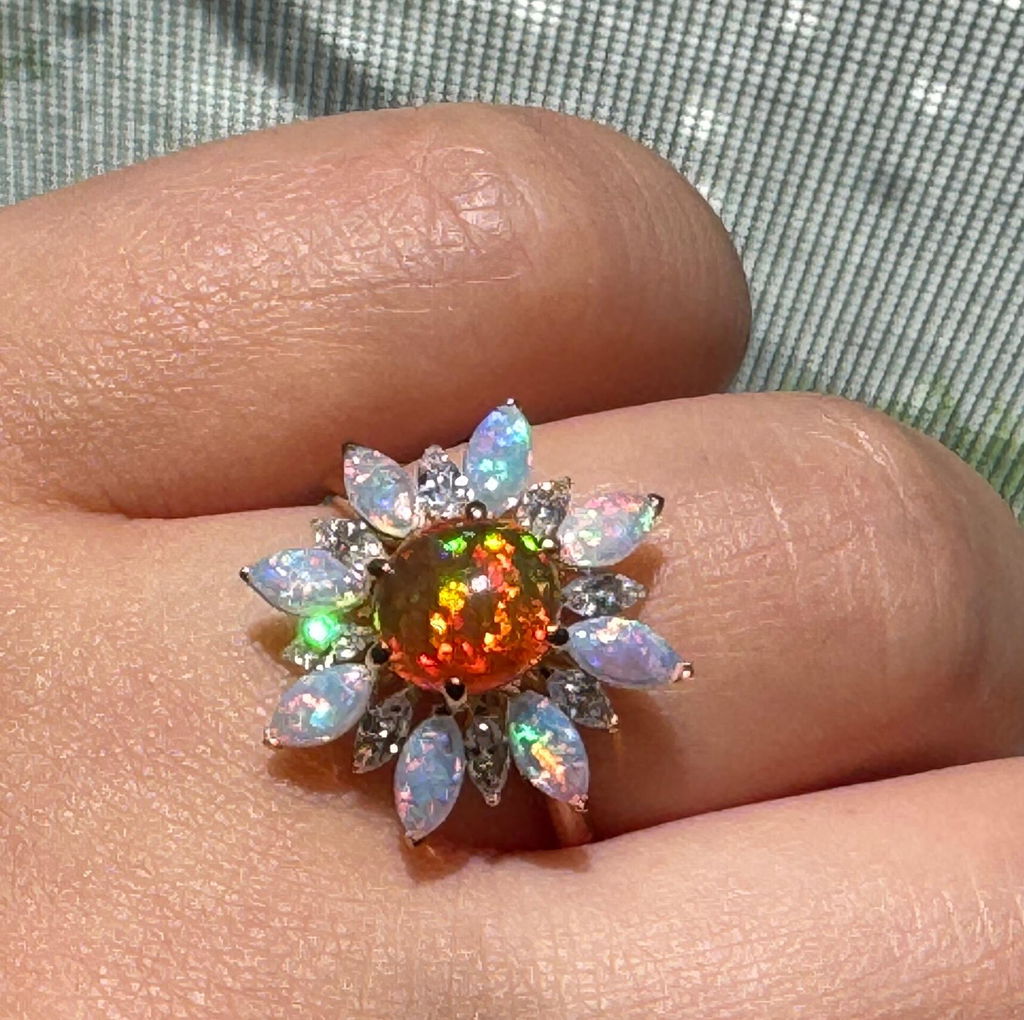
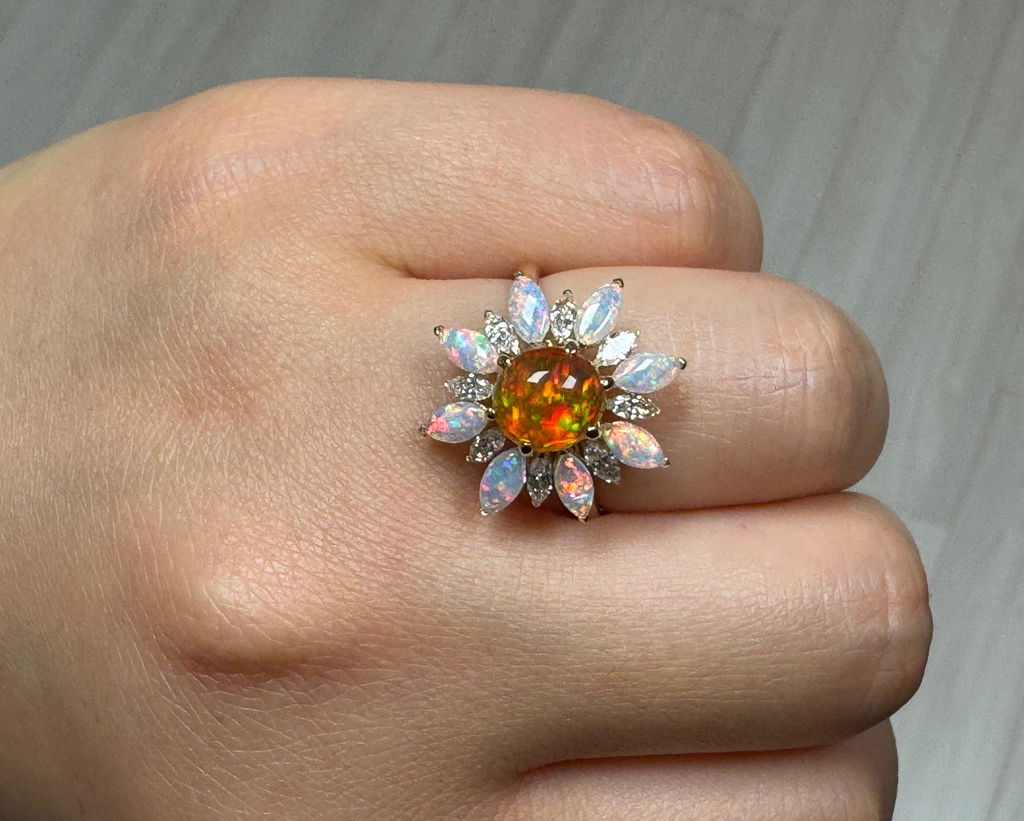
At The Wind Opal, we want your experience to be as seamless as the glow of our stones. Now that you have your size ready, it is time for the fun part - finding the stone that speaks to your personality. You might fall in love with the deep, mysterious tones in our Black Boulder Opal Rings, the vibrant sunset hues of our Mexican Fire Opal Rings, or the ethereal, translucent beauty of our Crystal Opal Collection.
We’re constantly creating, so be sure to check out our New Designs to see our latest handcrafted work. If you have a specific vision in mind or need a hand with sizing, please Contact Us or reach out to Request a Custom Item. We would love to help you bring your dream ring to life with a fit that is truly second to none.
Ready to find your perfect fit? Explore our handcrafted Opal Ring Collection and find your next favorite piece today!
Frequently Asked Questions
1. Can I use a tape measure?
You can, but a standard sewing tape measure is often too thick to get an accurate "tight" wrap around your finger. A thin strip of paper is usually much more precise.
2. What if I’m between sizes?
If you are between two sizes, we almost always recommend sizing up. It is much easier (and more comfortable) to wear a slightly loose ring or use a small silicone "ring sizer" insert than it is to try and force a ring that is too small.
3. Are left and right hands the same size?
Usually not! For most people, the dominant hand is slightly larger. Always measure the specific finger on the specific hand where you plan to wear your new jewelry.
4. Does the weather affect ring size?
Yes, significantly. In the winter, your fingers will be at their thinnest. In the summer heat, or after a long flight, they will likely swell. Try to measure when you feel at a "baseline" temperature.